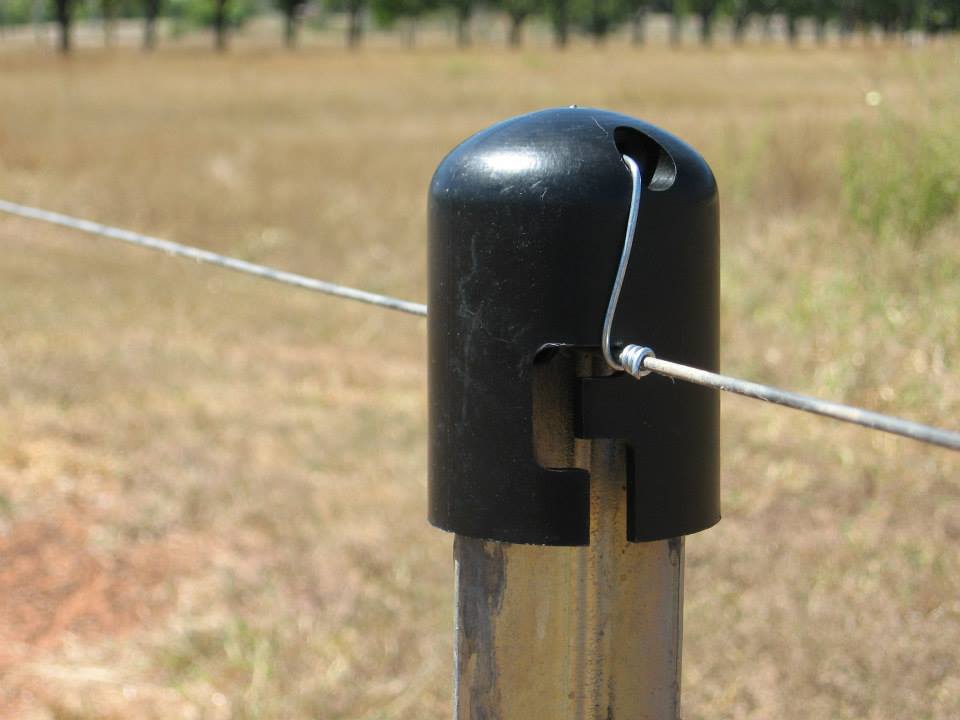
Fence post caps serve a dual purpose – they add a decorative element to your fence while also protecting the posts from water damage and rot. However, installing fence post caps may seem like a simple task, but there are several key factors that homeowners should consider to ensure a proper installation. In this guide, we will discuss some valuable tips and tricks to help you properly install fence post caps and enhance the overall appearance and longevity of your fence.
1. Choose the Right Type of Fence Post Cap
The first step in the installation process is to select the right type of fence post cap. There are various materials and designs available, such as wood, metal, and plastic caps, each offering unique benefits. Consider the style of your fence and the climate in your area to determine the best option for your needs. Remember, the quality of the fence post cap will directly impact its durability and performance.
2. Measure and Prepare the Fence Posts
Before installing the post cap, you need to ensure that the fence posts are properly measured and prepared. Measure the width of the post accurately so that you can choose the right size cap. Additionally, inspect the posts for any damage or rot. Make sure to replace any damaged sections before proceeding with the installation.
3. Clean and Sand the Post Tops
Before installing the fence post caps, it is important to clean and sand the tops of the posts. This will ensure a smooth and level surface for the cap to sit on. Use a mild detergent and water to clean any dirt or debris, and then gently sand the area to create an even surface. This step will help the cap sit securely and prevent any wobbling or misalignment.
4. Apply a Waterproof Sealant
To protect both the fence post and the cap from water damage and rot, it is recommended to apply a waterproof sealant to the top of the post. This will create a barrier against moisture and prolong the lifespan of the entire fence structure. Choose a high-quality waterproof sealant that is suitable for the material of your fence and follow the manufacturer’s instructions for application.
5. Use Adhesive or Screws for Secure Installation
Depending on the type of fence post cap you have chosen, you will need to use either adhesive or screws to secure it in place. For wooden caps, a durable adhesive specifically designed for outdoor use is usually sufficient. Apply the adhesive to the bottom of the cap and press it firmly onto the prepared post top. Alternatively, if you have metal or plastic caps or steel post caps with pre-drilled screw holes, use corrosion-resistant screws to attach them securely.
6. Consider Using Decorative Accents
To further enhance the appearance of your fence post caps, consider adding decorative accents. You can incorporate elements such as solar-powered lights, finials, or ornaments that complement the style of your fence and add a touch of personalization. These decorative accents will not only make your fence more visually appealing but also increase its visibility during nighttime.
7. Regularly Inspect and Maintain
After installing the fence post caps, it is important to regularly inspect and maintain them to ensure their longevity. Check for any signs of damage, such as cracks or loose fittings, and promptly address any issues. Additionally, perform routine cleaning and resealing as necessary to protect the post caps from the elements.
Following these tips and tricks will help you properly install fence caps and contribute to the overall aesthetics and functionality of your fence. Take the time to choose the right type of cap, properly prepare the fence posts, and ensure a secure installation. With proper care and maintenance, your fence post caps will not only enhance the beauty of your fence but also extend its lifespan for years to come.


