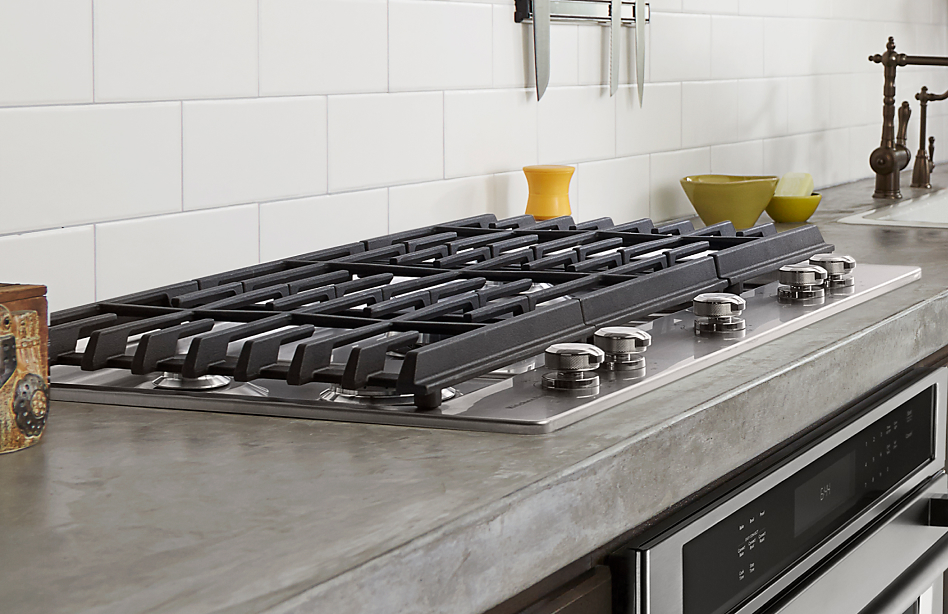
Electric cooktops have become a popular choice for modern kitchens, offering energy efficiency, precise temperature control, and a sleek, easy-to-clean design. If you’re considering installing an electric cooktop in your kitchen, it’s essential to know the process involved. This step-by-step guide will walk you through the installation process to ensure a safe and successful setup.
Step 1: Gather Your Tools and Materials
Before you begin, gather the necessary tools and materials for the installation:
- Electric cooktop
- Circuit breaker or fuse box
- Screwdrivers
- Wire stripper
- Wire nuts
- Electrical tape
- Cable clamps
- Wire connectors
- Non-contact voltage tester
- Measuring tape
- Pliers
Step 2: Safety First
Safety is a top priority when dealing with electricity. Start by turning off the power at the circuit breaker or fuse box to the kitchen area. Use a non-contact voltage tester to ensure there’s no electricity running to the old cooktop. Additionally, make sure your work area is well-lit, and you have access to a fire extinguisher in case of emergencies.
Step 3: Remove the Old Cooktop
Carefully disconnect the old cooktop from the power source. This typically involves removing screws, disconnecting wires, and loosening any clamps or brackets holding it in place. Once disconnected, lift the old cooktop out of its position and set it aside.
Step 4: Measure and Prepare the Opening
Measure the dimensions of your new electric cooktop and mark these measurements on the countertop. Use a jigsaw to cut out the opening for the cooktop. Ensure that the opening is level and secure.
Step 5: Install the Cable
Feed the electric cable through a cable clamp and secure it to the back of the cooktop. Connect the wires from the cooktop to the wires from the cable using wire nuts. Use electrical tape to insulate the wire nuts, and ensure that the connections are secure.
Step 6: Secure the Cooktop
Lower the electric cooktop into the prepared opening in the countertop. Fasten it securely with screws or brackets provided by the manufacturer. Make sure the cooktop is level and does not wobble.
Step 7: Connect to Power
Go back to the circuit breaker or fuse box and turn the power back on to the kitchen area. Test the electric cooktop by turning it on to ensure it heats up properly. Double-check all connections and wiring for any issues.
Step 8: Final Adjustments
If your electric cooktop comes with any additional components, such as trim rings or seals, follow the manufacturer’s instructions to install them. Clean the cooktop’s surface and ensure it’s ready for use.
Step 9: Safety Inspection
Once the cooktop is operational, conduct a final safety inspection. Ensure that all wires are properly connected, that there are no loose components, and that the cooktop is securely in place. Verify that there are no electrical hazards in the installation.
Step 10: Enjoy Your New Electric Cooktop
With the installation complete and safety ensured, you’re now ready to enjoy your new electric cooktop. Electric cooktops are known for their efficiency and precise temperature control, making them a valuable addition to any modern kitchen.
In conclusion, installing an electric cooktop can be a DIY project, but it’s essential to follow safety precautions and adhere to the manufacturer’s guidelines. If you’re unsure about any step in the installation process, or if you have any concerns about electrical work, it’s always a good idea to consult a professional electrician to ensure a safe and successful installation. Once installed, your electric cooktop will provide you with a reliable and efficient cooking solution for years to come.
Electric Cooktop Installation: A Step-by-Step Guide


